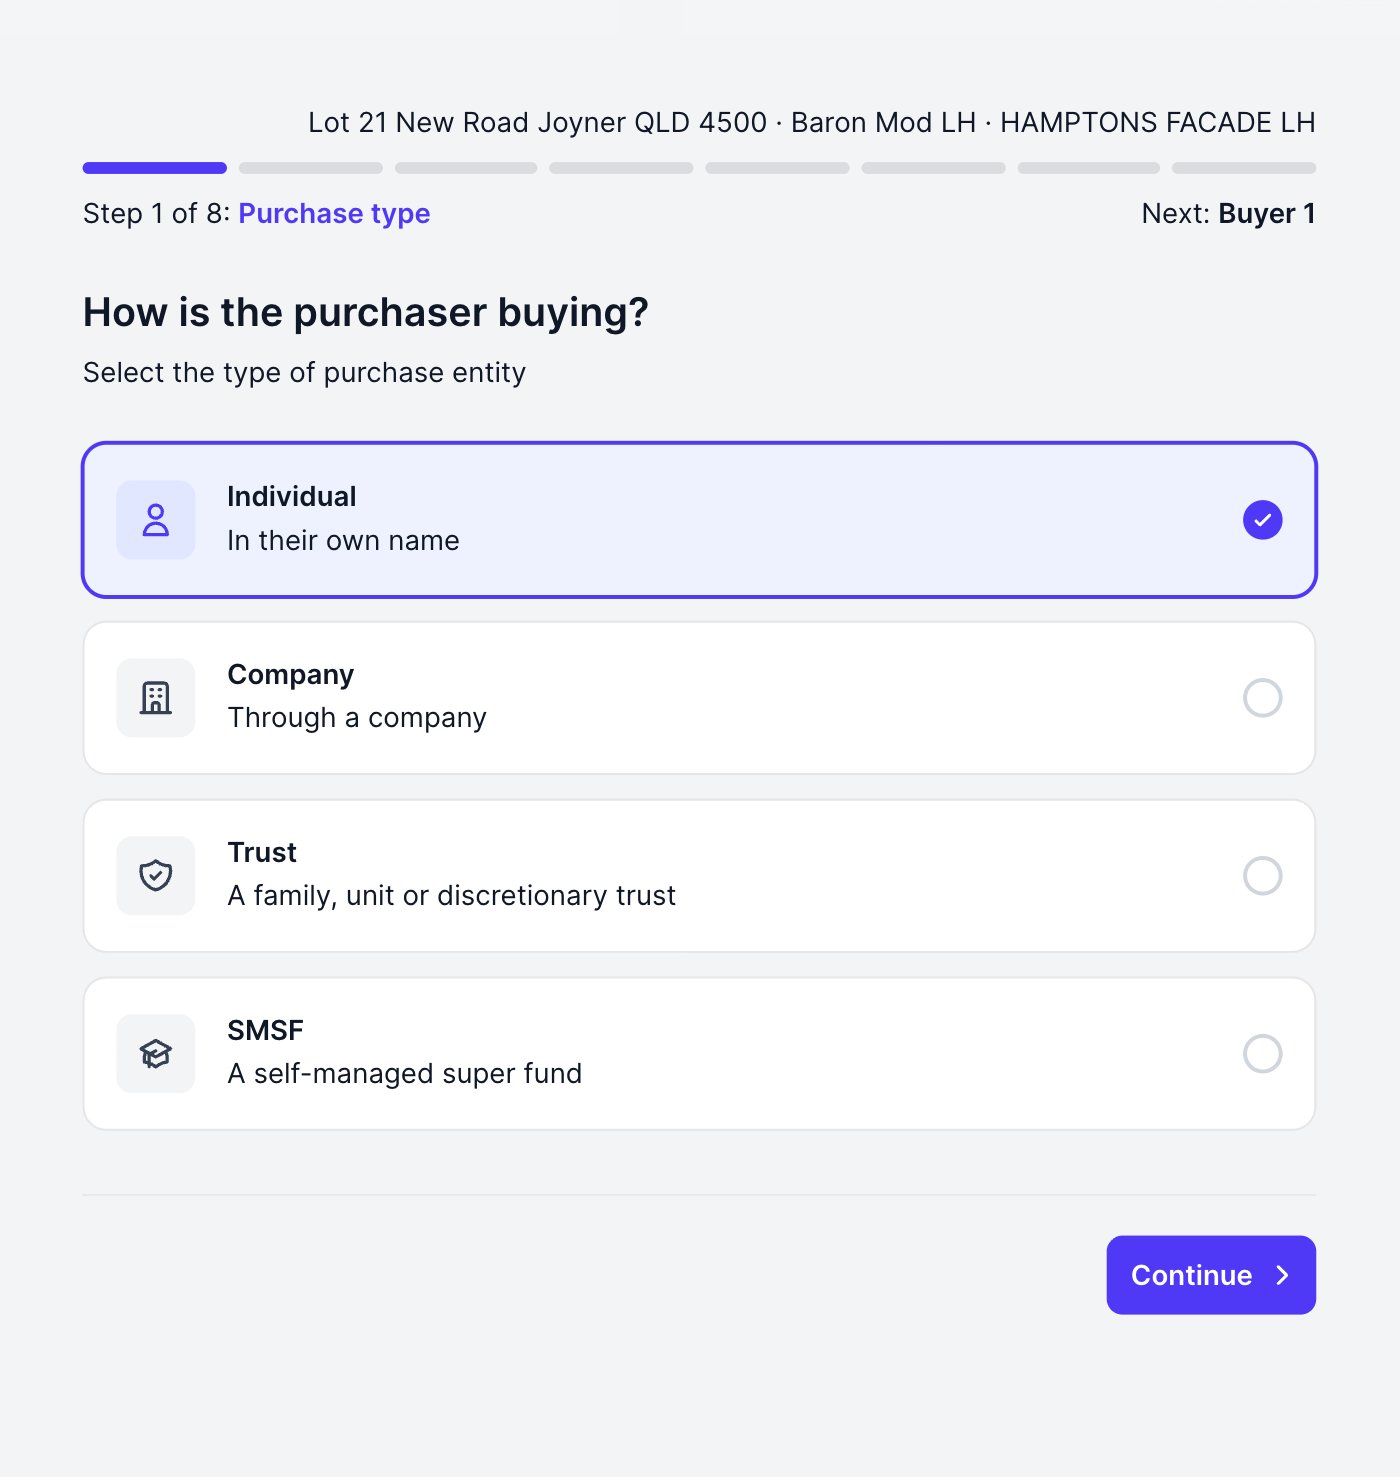
Enter the buyers
Enter the first buyer’s legal name exactly as it appears on their ID, plus their email, mobile and residential address. The form saves as you go, so you can leave and resume any time.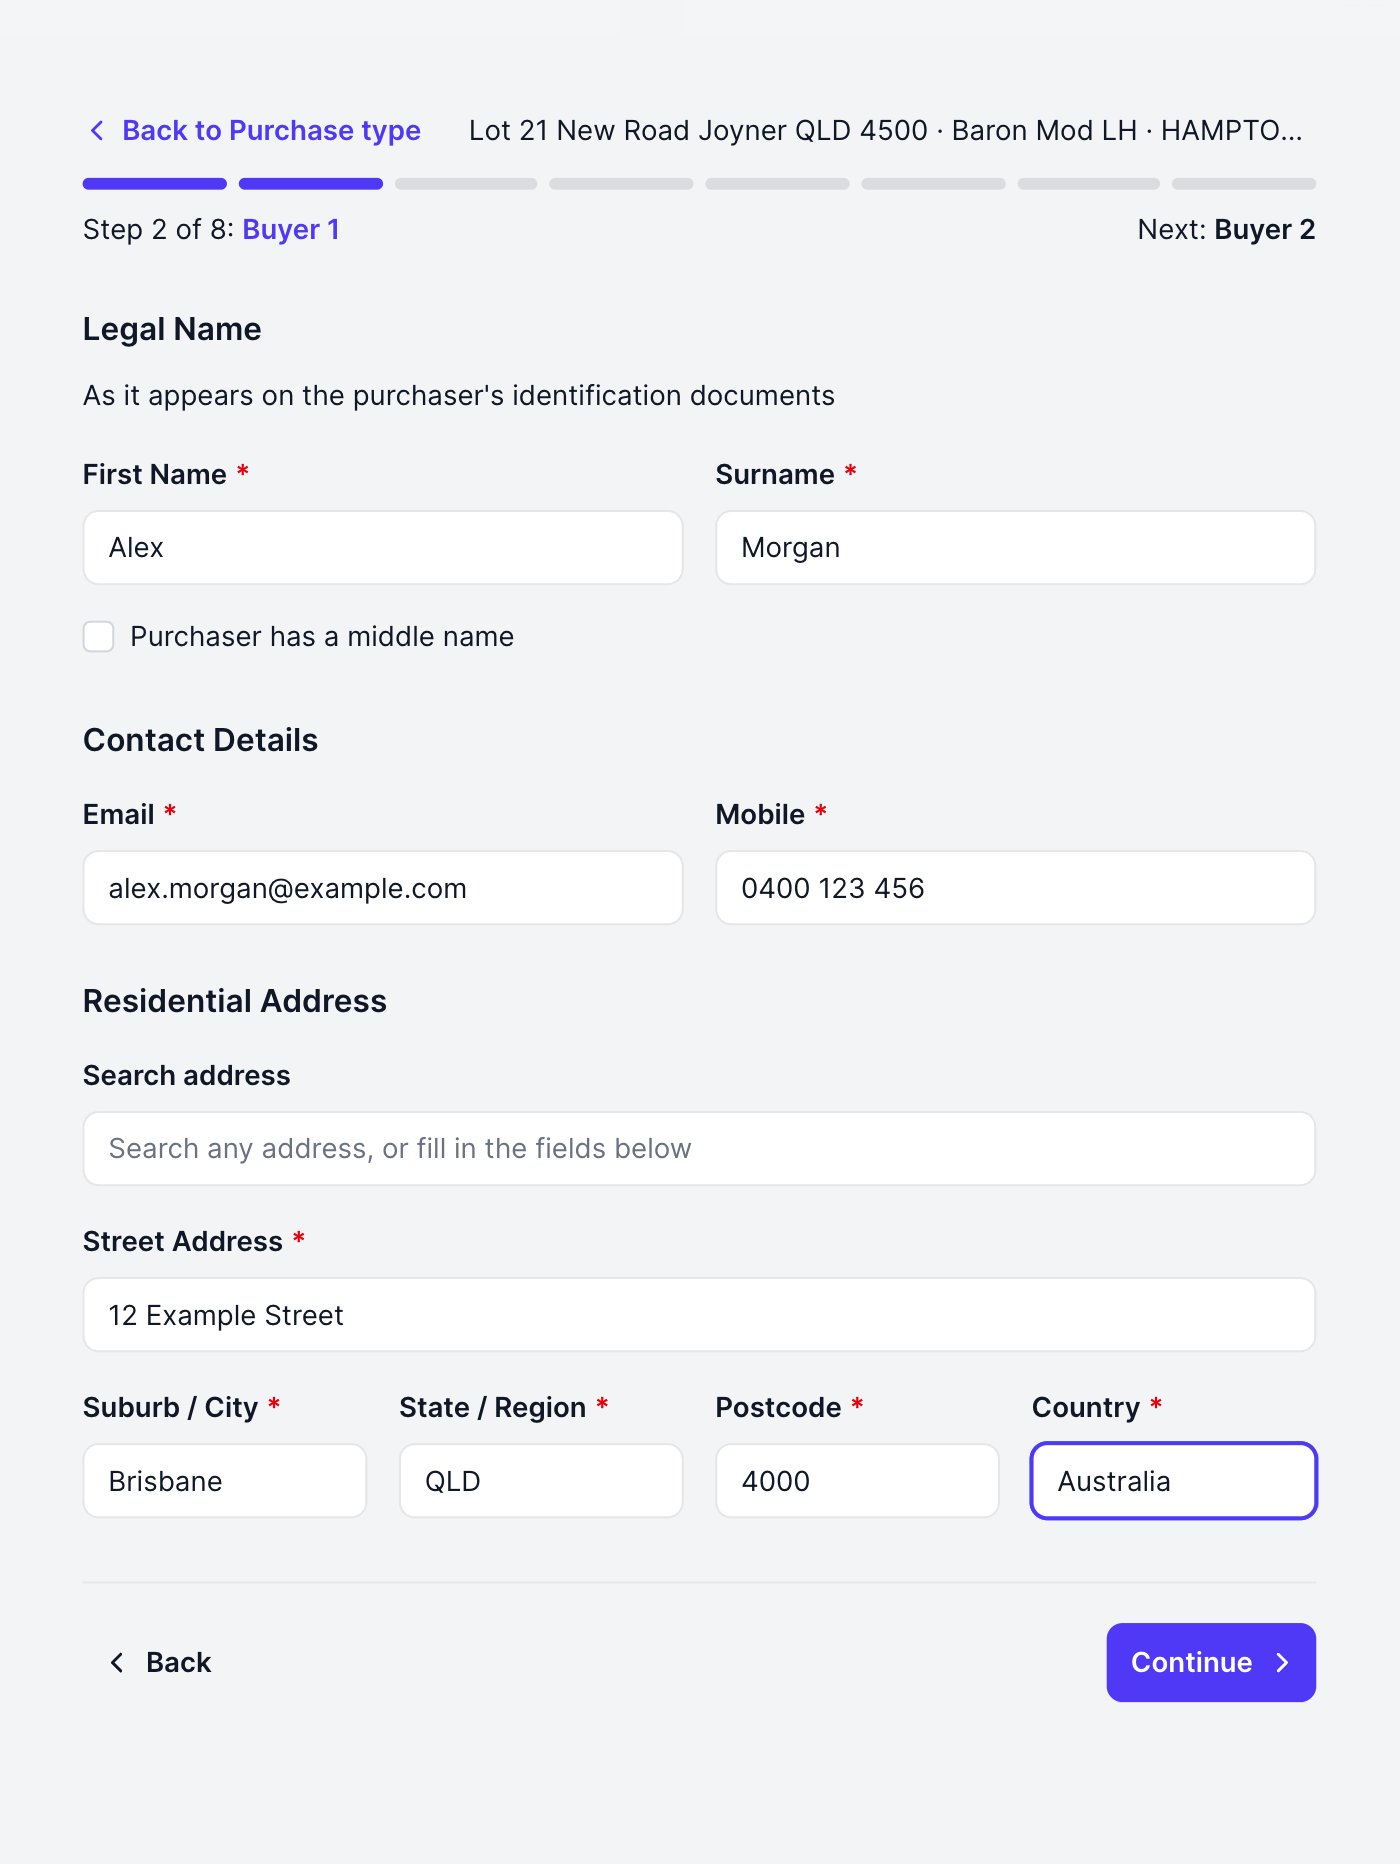
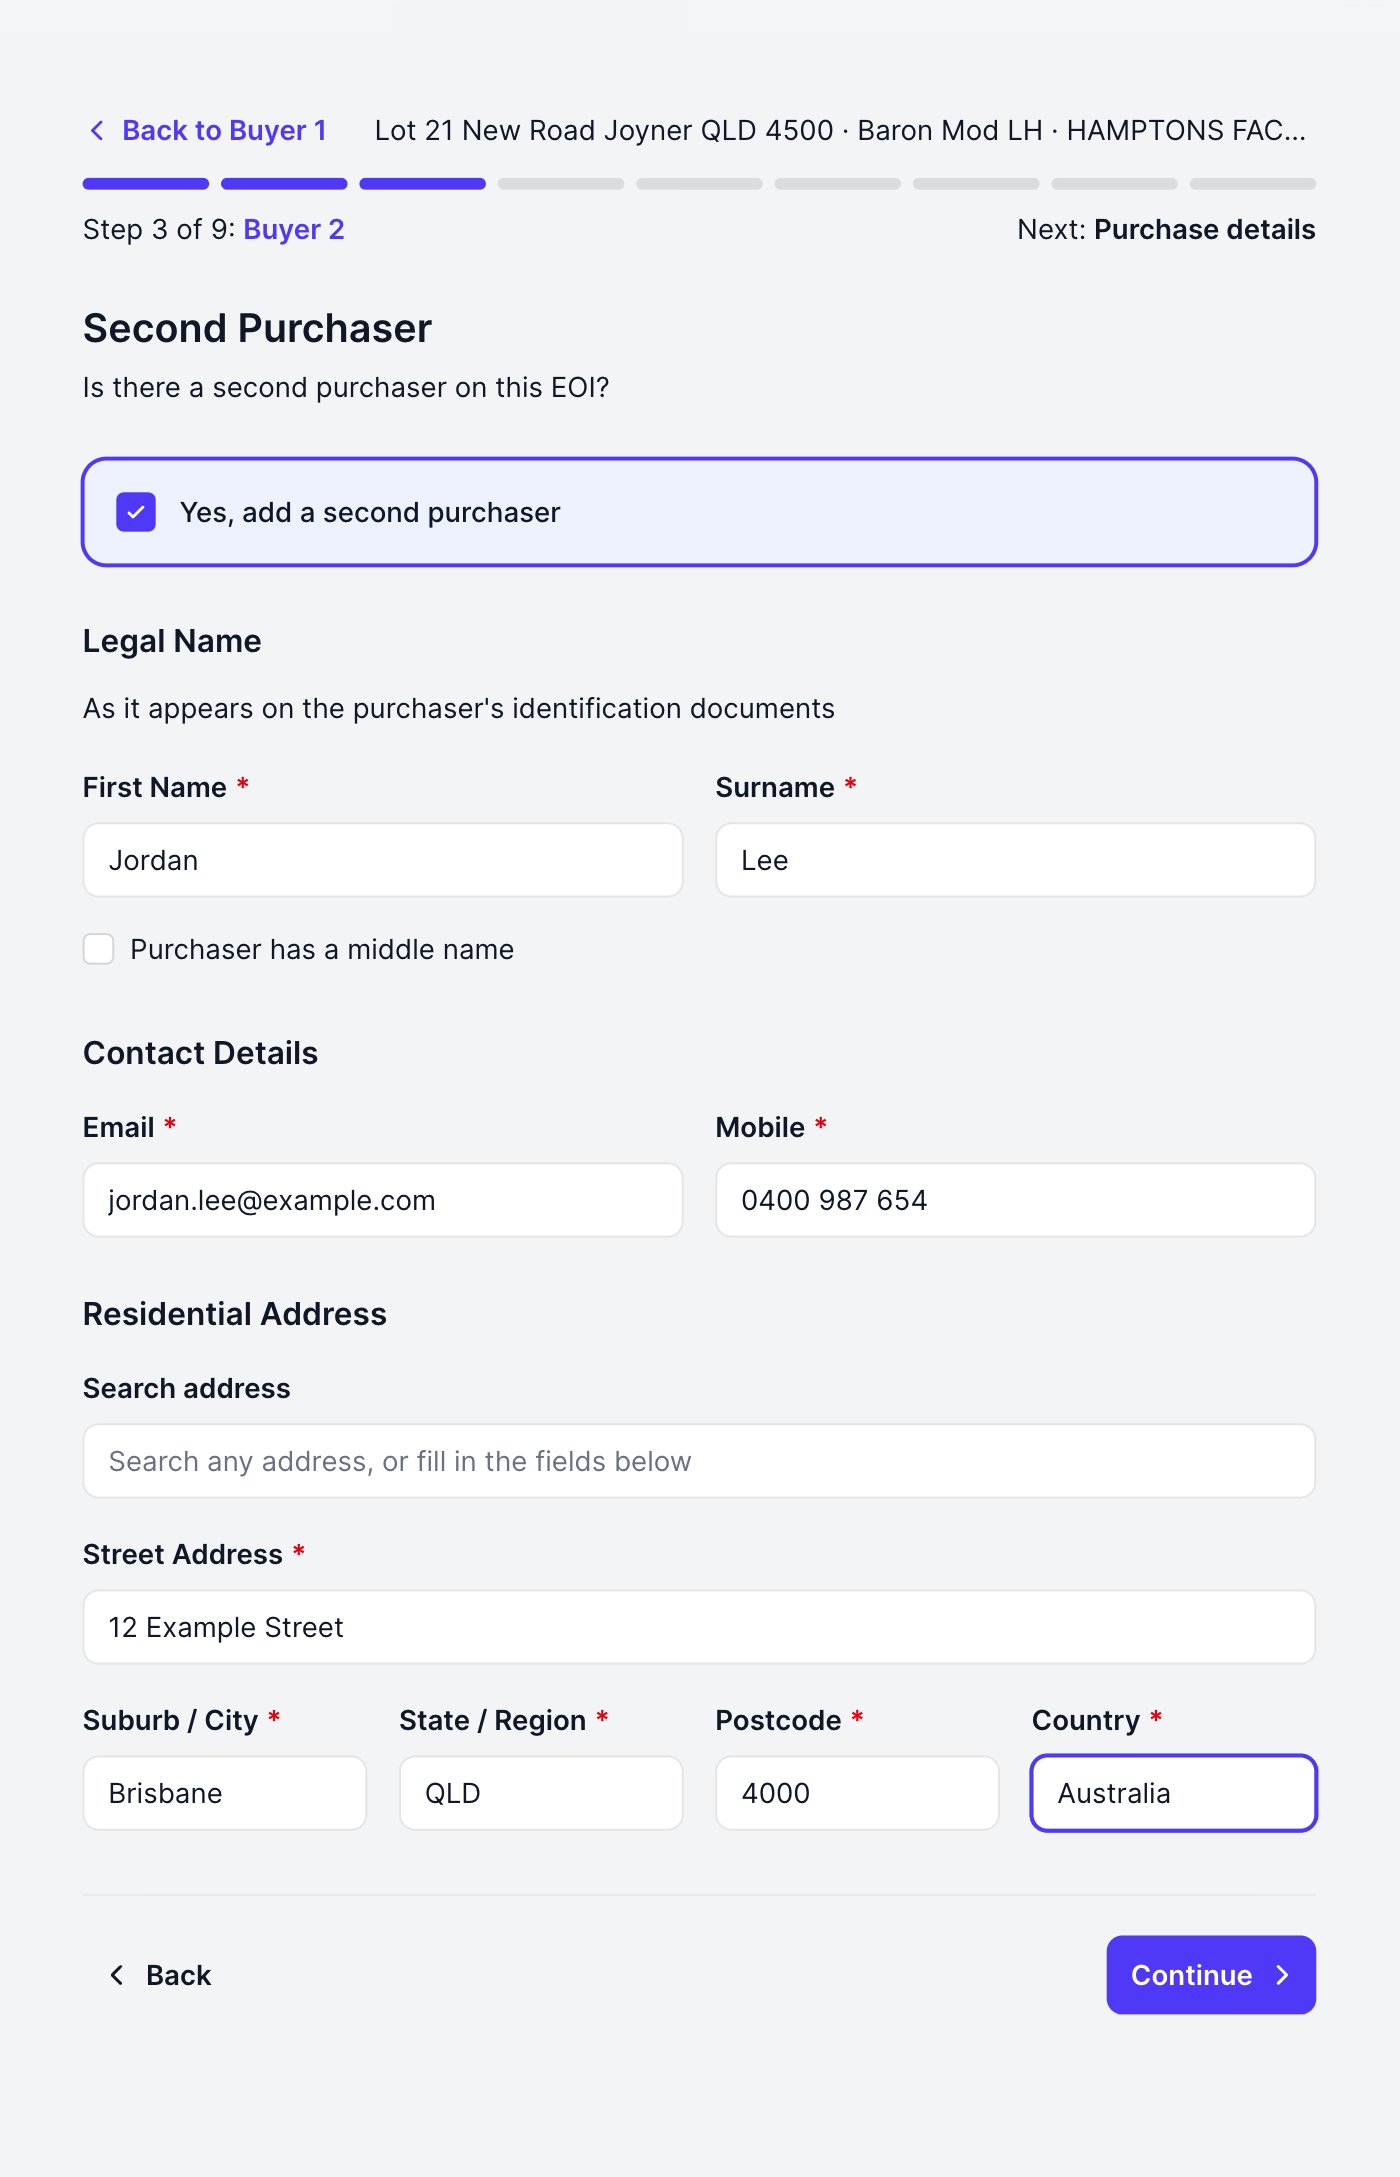
Ownership
With more than one buyer you set the ownership split: Joint Tenants, or Tenants In Common with percentages that must total 100. The contract names print on the EOI record exactly as you enter them.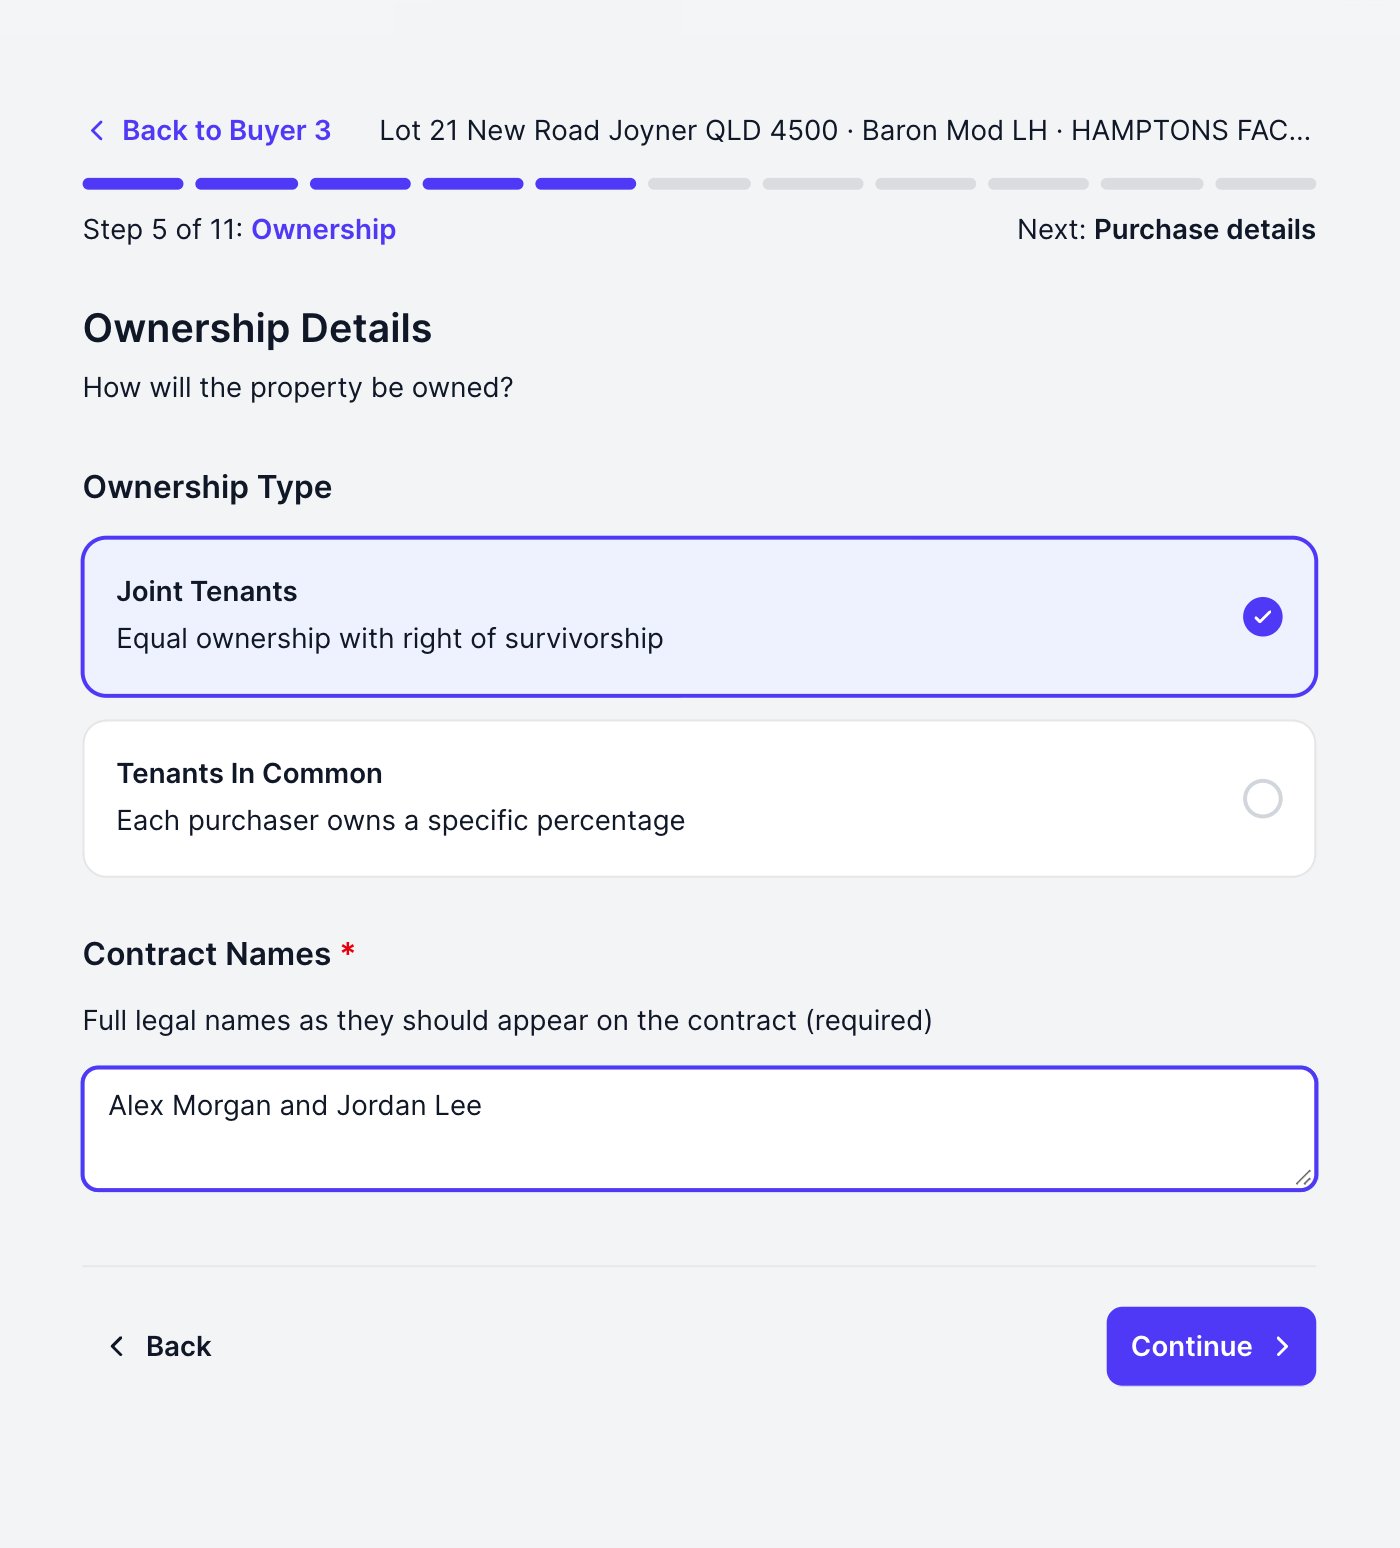
Purchase details, finance and advisors
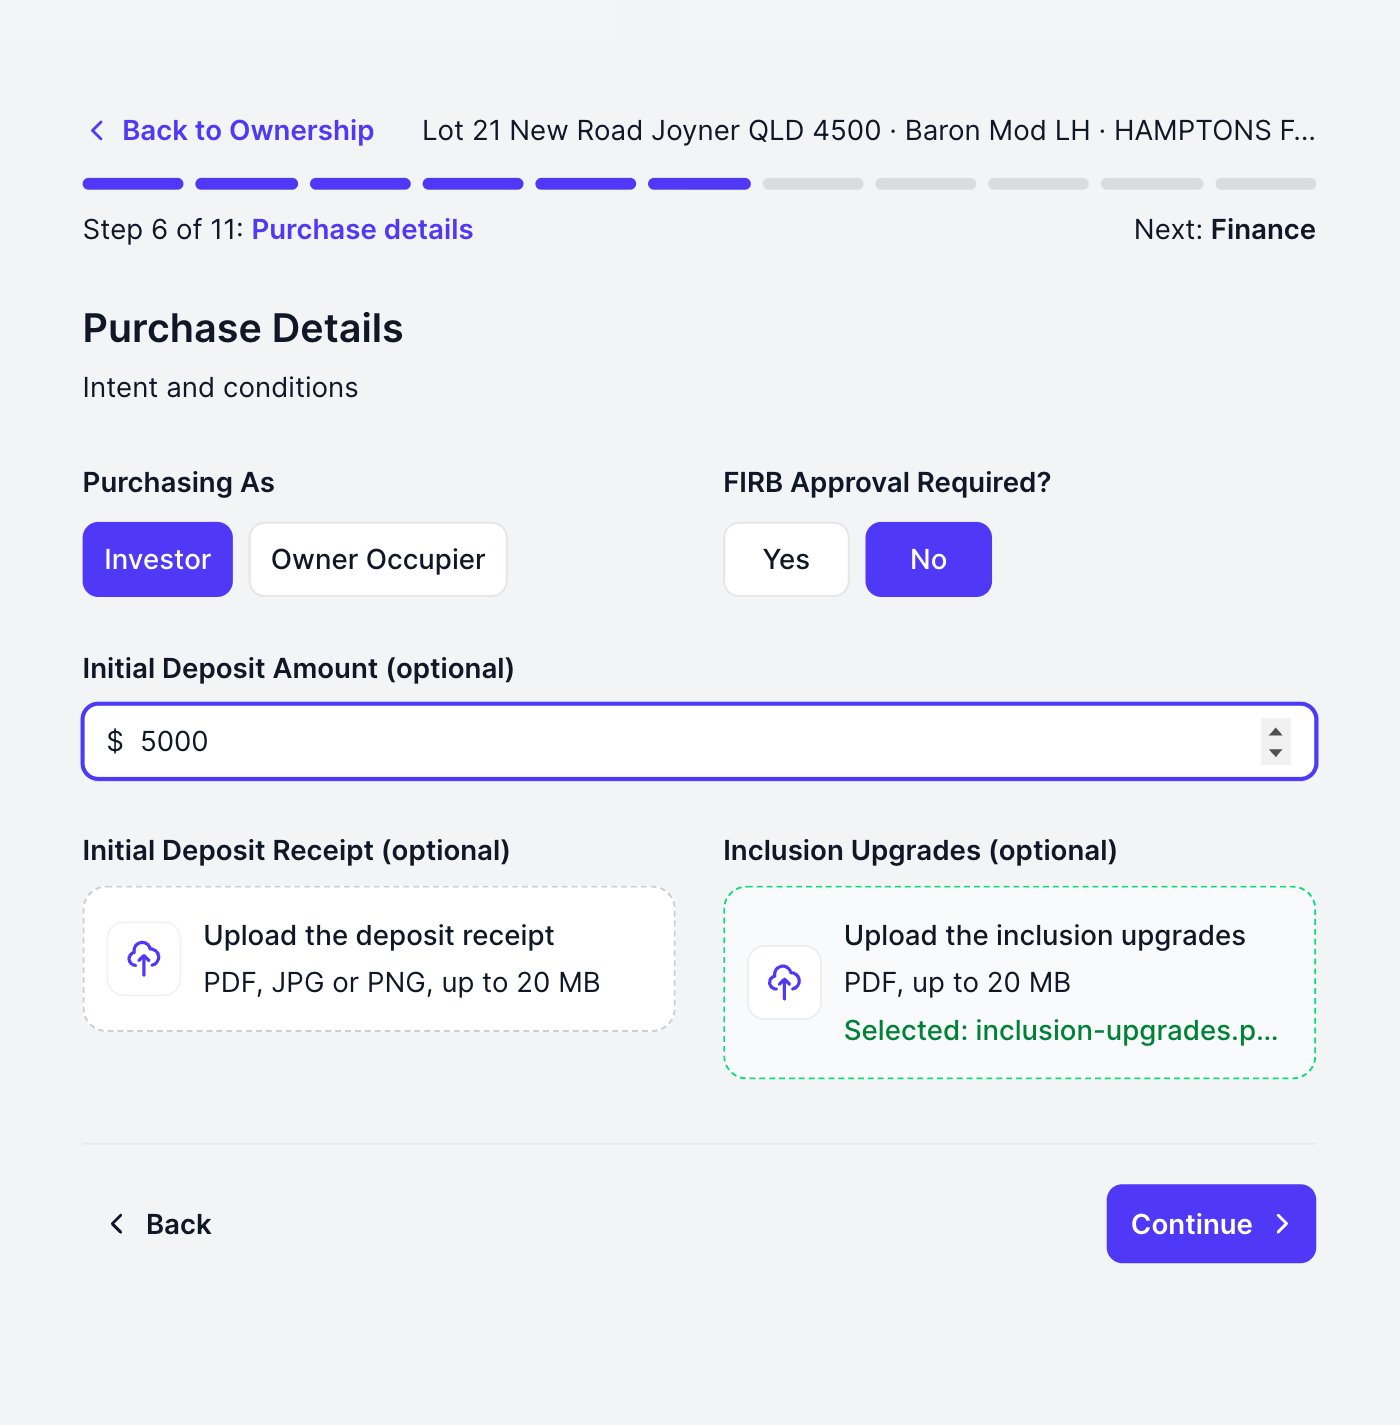
- Details: Investor or Owner Occupier, first-home and FIRB flags, then the Initial Deposit: the amount and a receipt upload, both optional. You can also attach an inclusion upgrades PDF here. When you pick a file the box confirms the selection, and it attaches when you continue
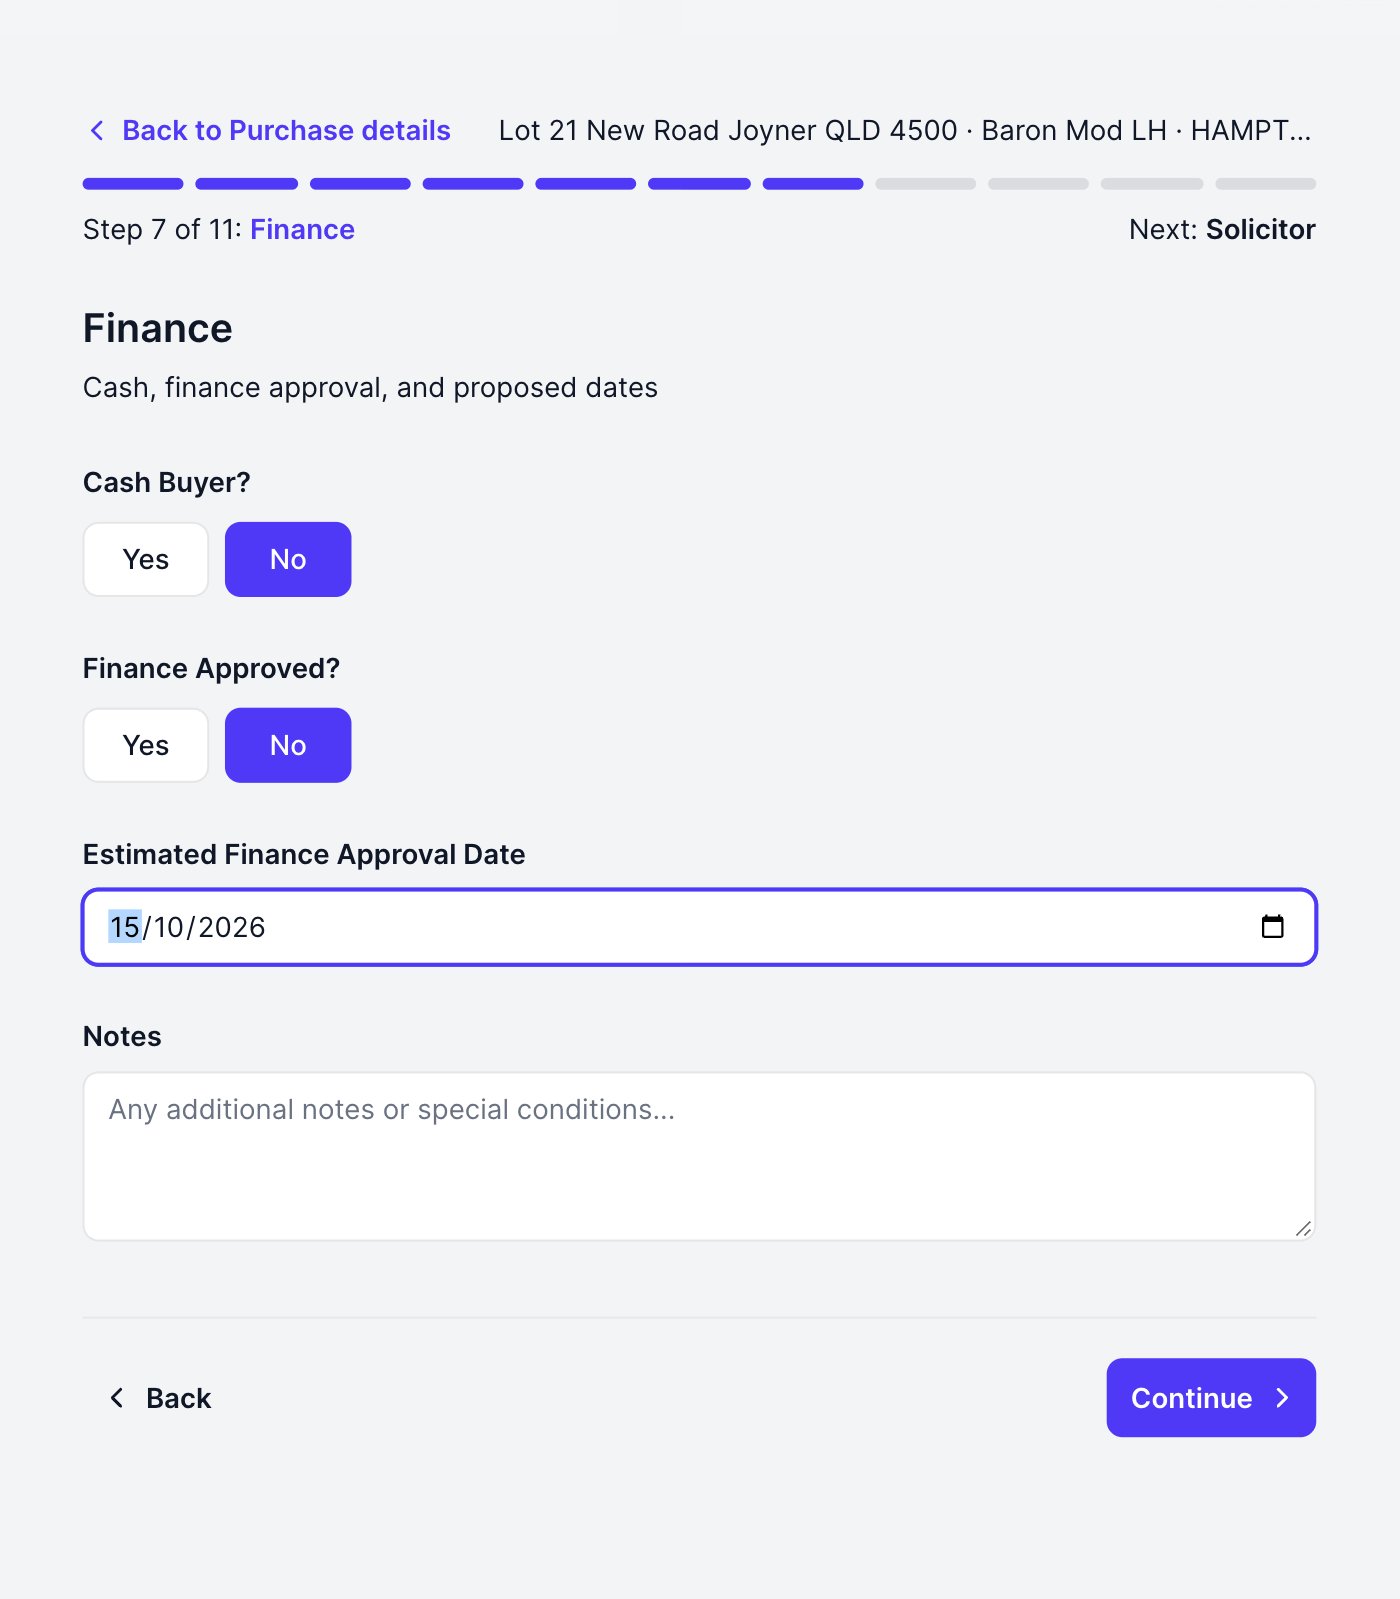
- Finance: cash buyer, or the finance position: approved (attach the approval) or an estimated approval date
- Solicitor and Broker: company, contact, address, phone and email for each
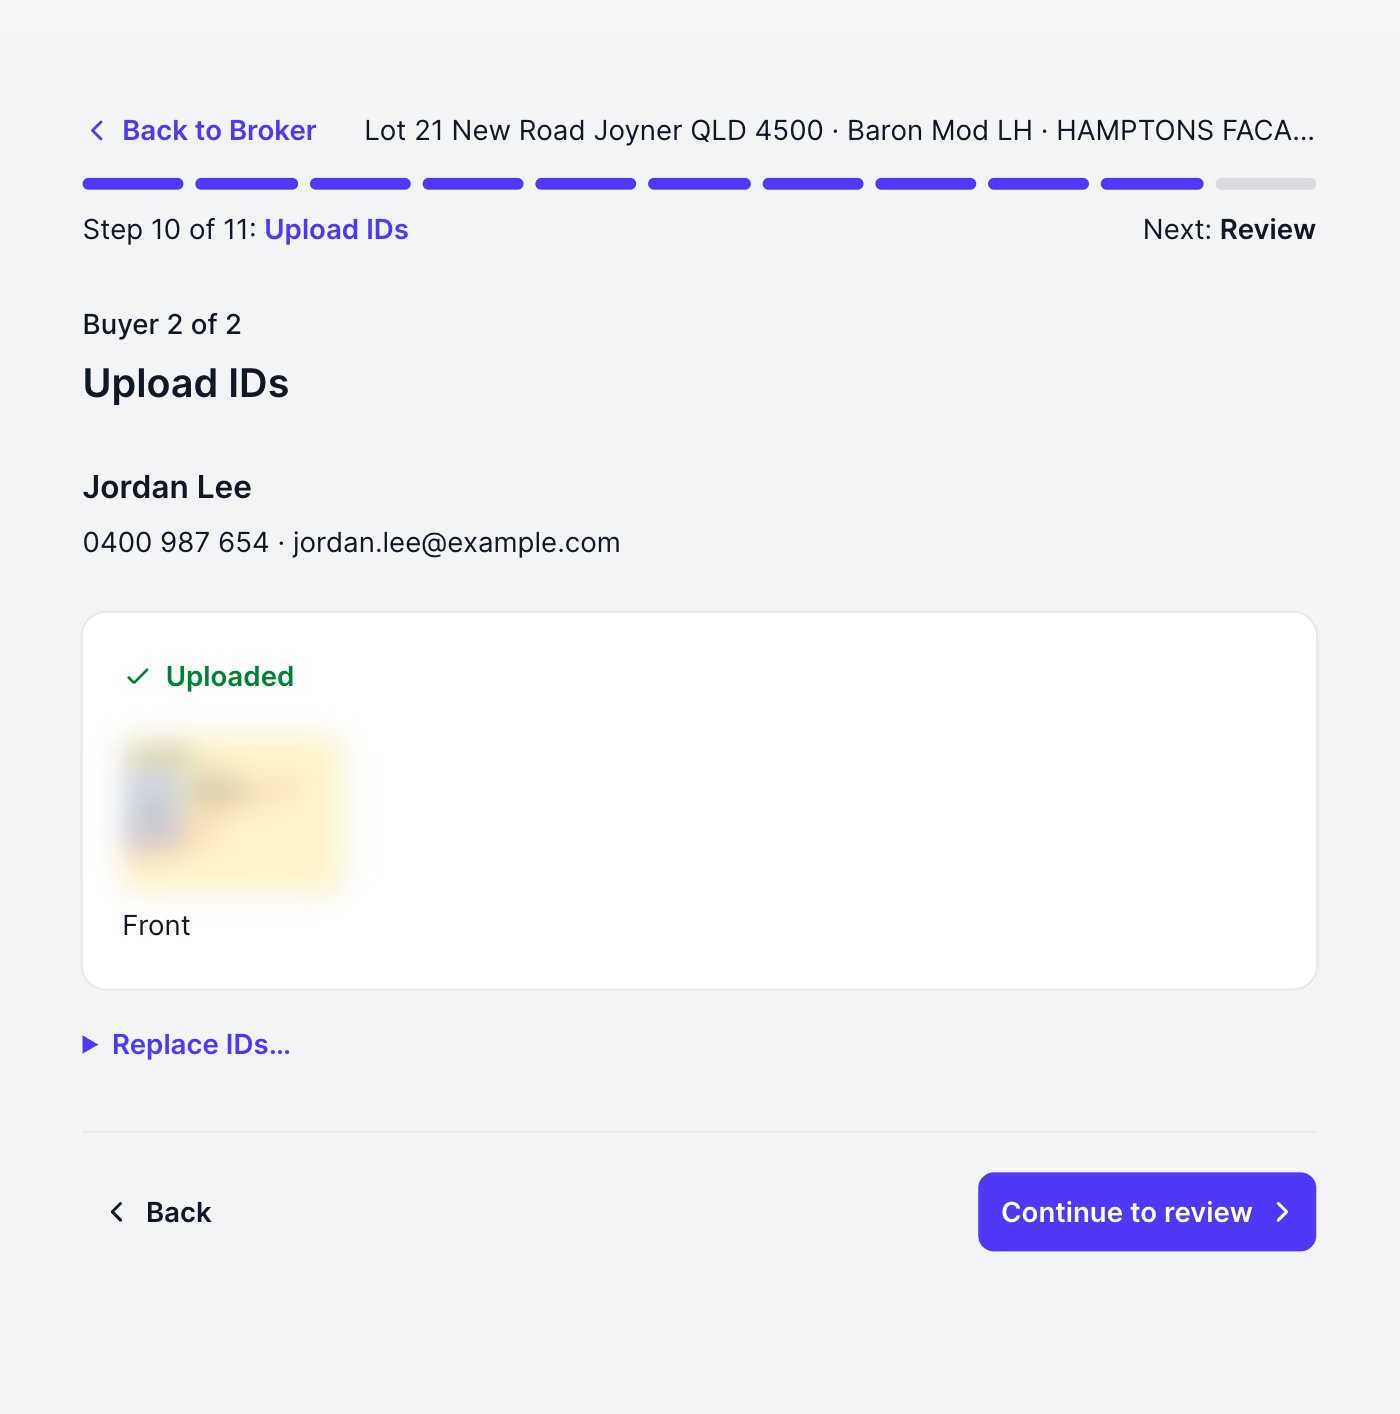
Upload each buyer’s ID
One buyer at a time: enter the date of birth and the ID type from the sighted document, attach the images, and note where and when you met the buyer. A licence needs front and back; a passport needs the photo page only. We do not ask for the document number. Before you upload, tick the confirmation that you gave this buyer the privacy notice when you started the EOI and that they agreed. Without that tick the upload is refused, so there is no way to record an ID without a record of consent. Capture ID saves that buyer and moves to the next.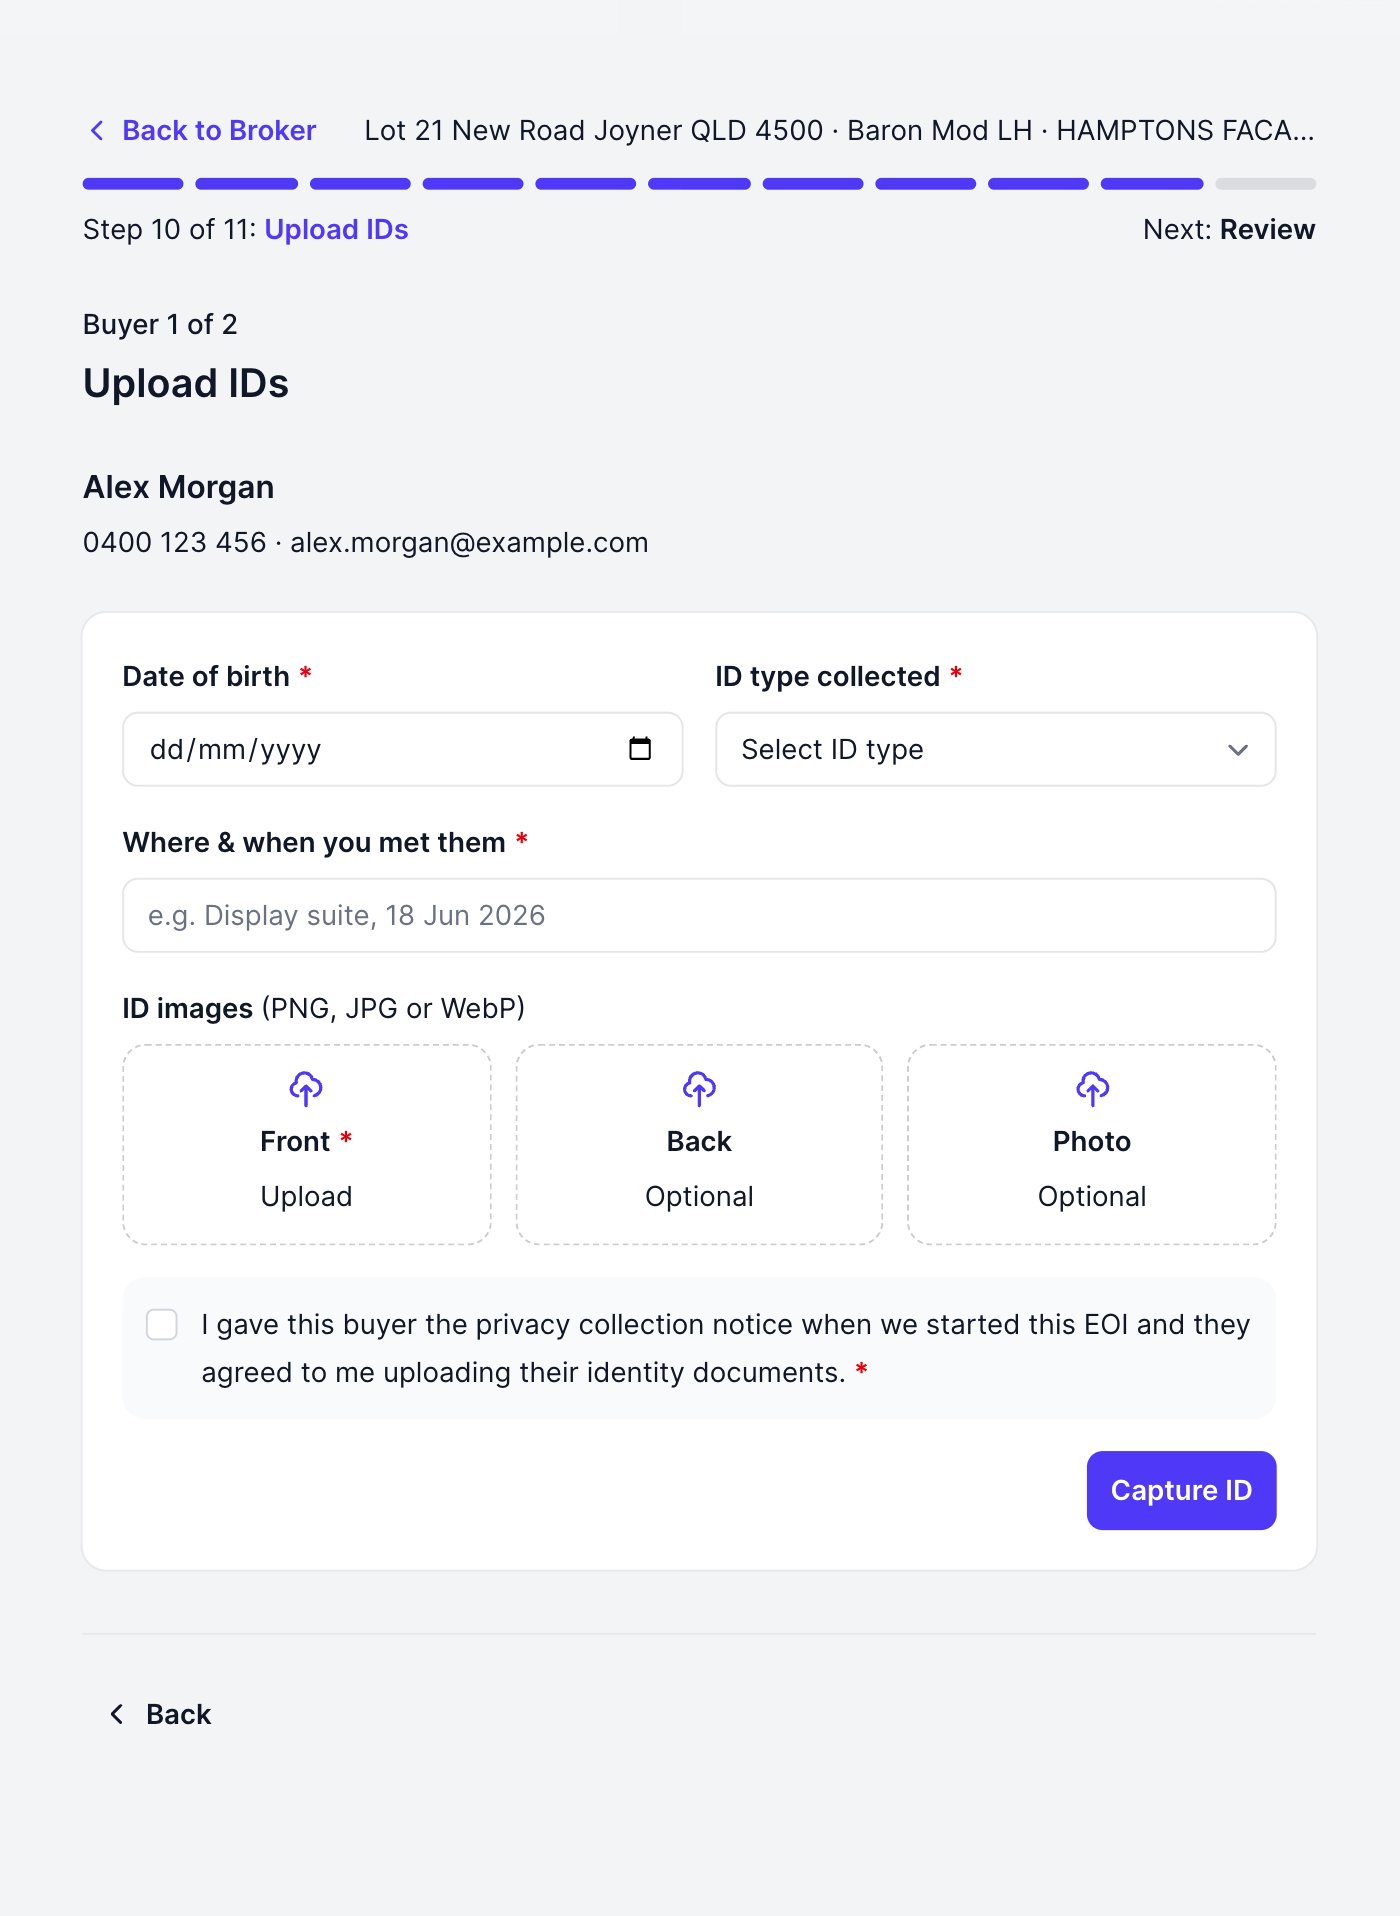
The documents you upload are stored with the EOI and reviewed by your account manager, so image quality matters: all four corners visible, no glare, details readable.
Review and submit
Everything you entered appears on one page, each section with an Edit link back to its step. Tick the electronic-submission consent, then Submit. If Submit is greyed out, an ID is missing: the page names the buyer.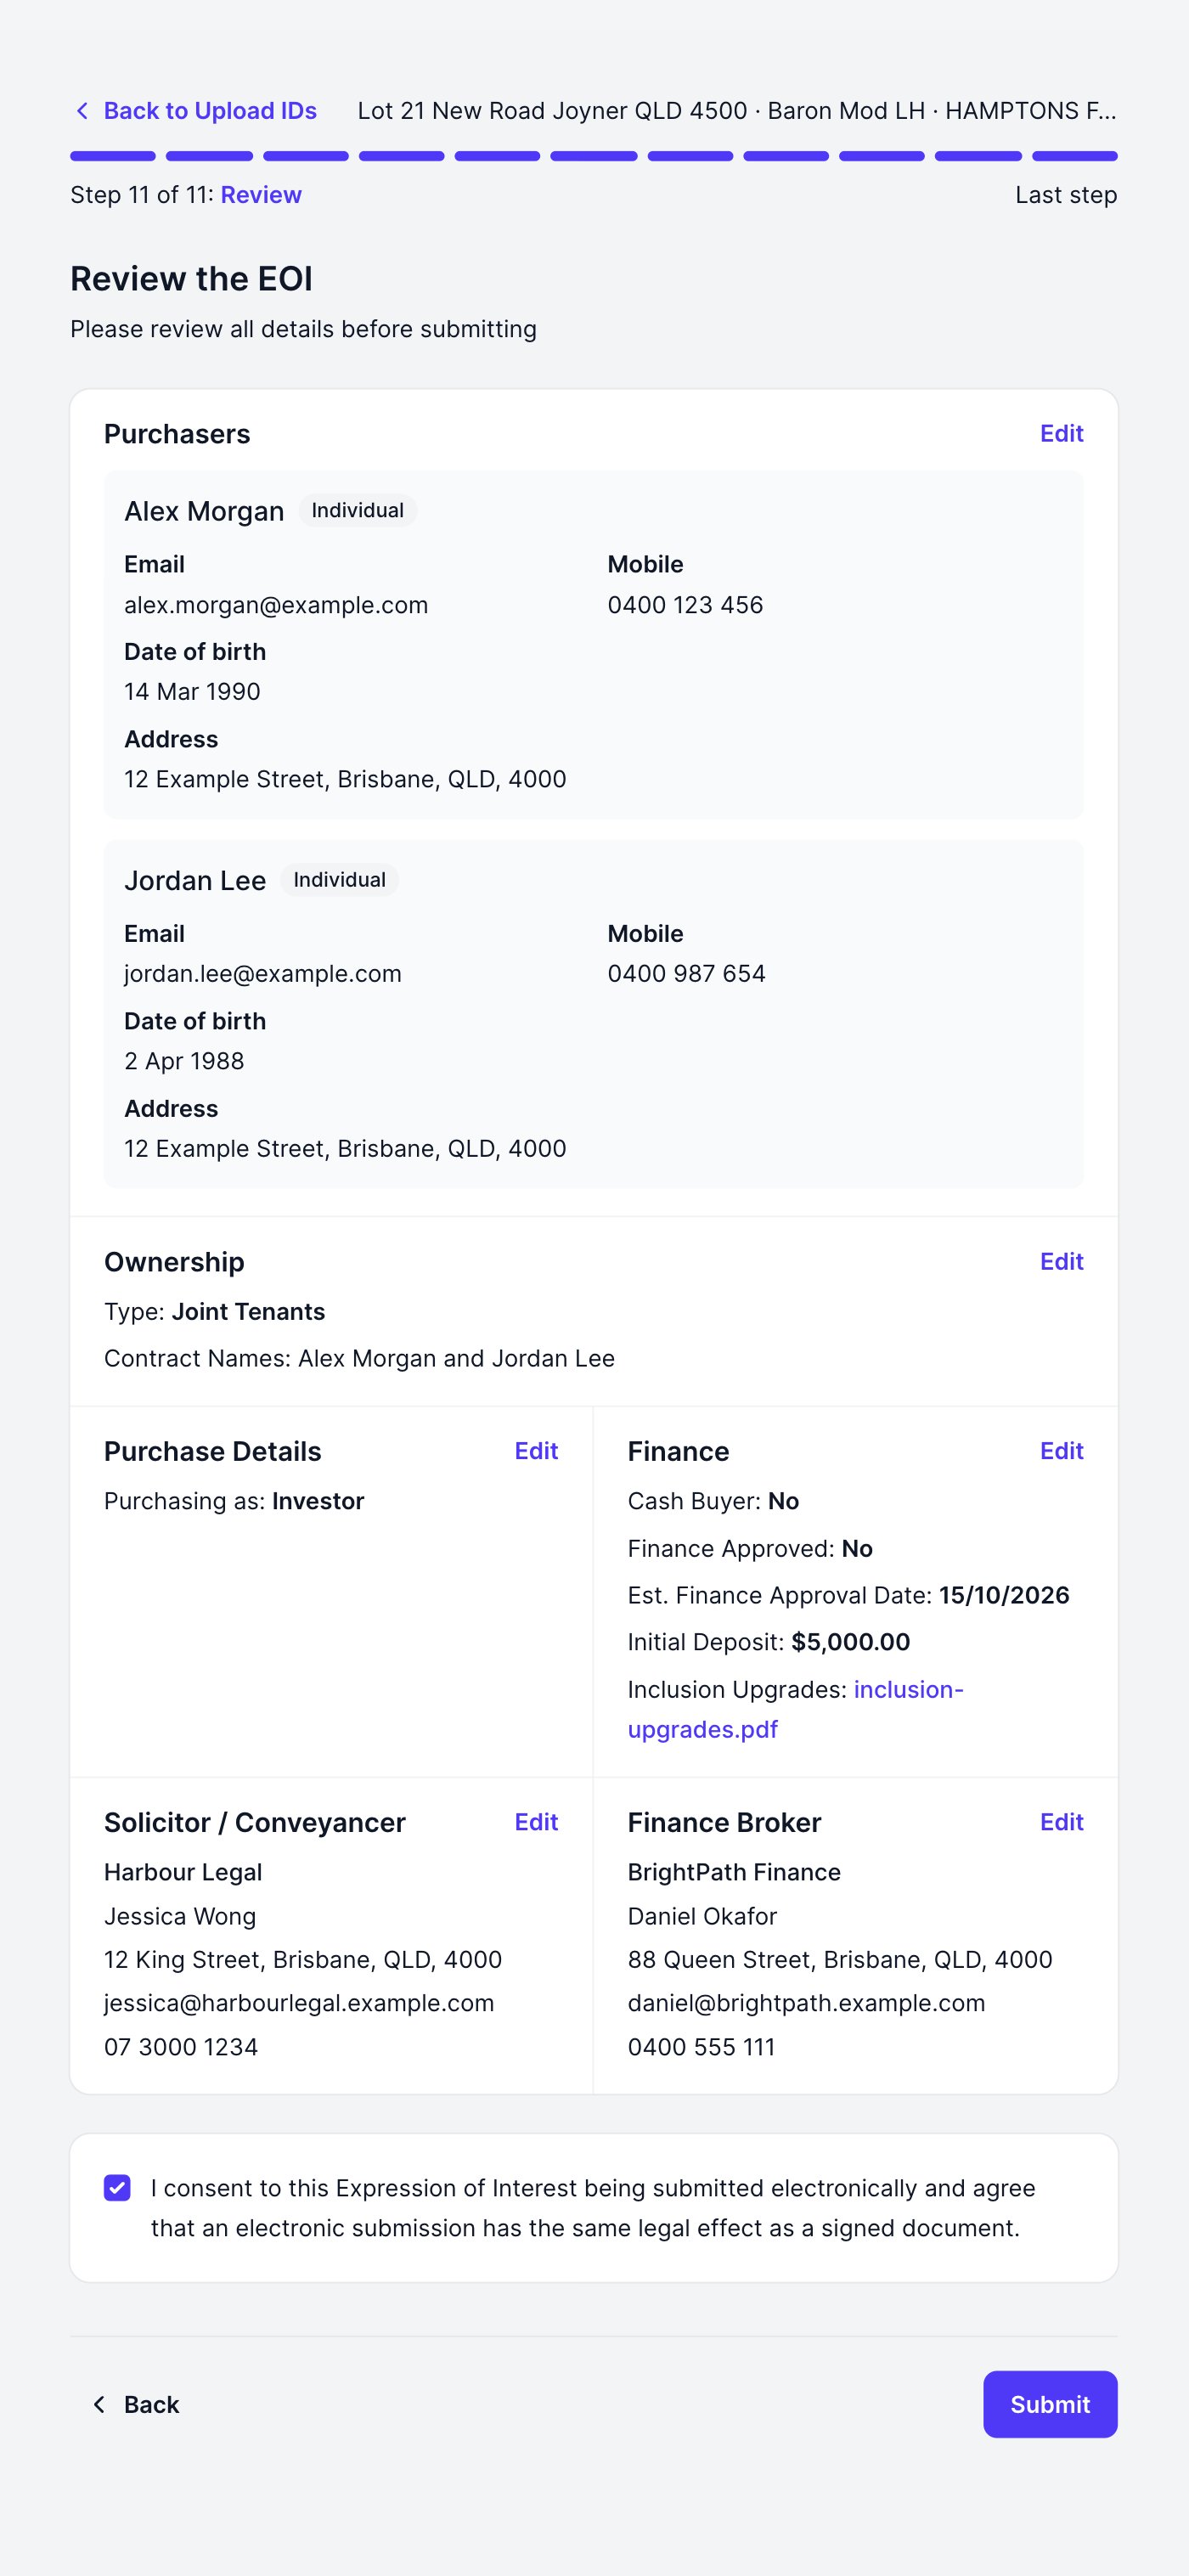
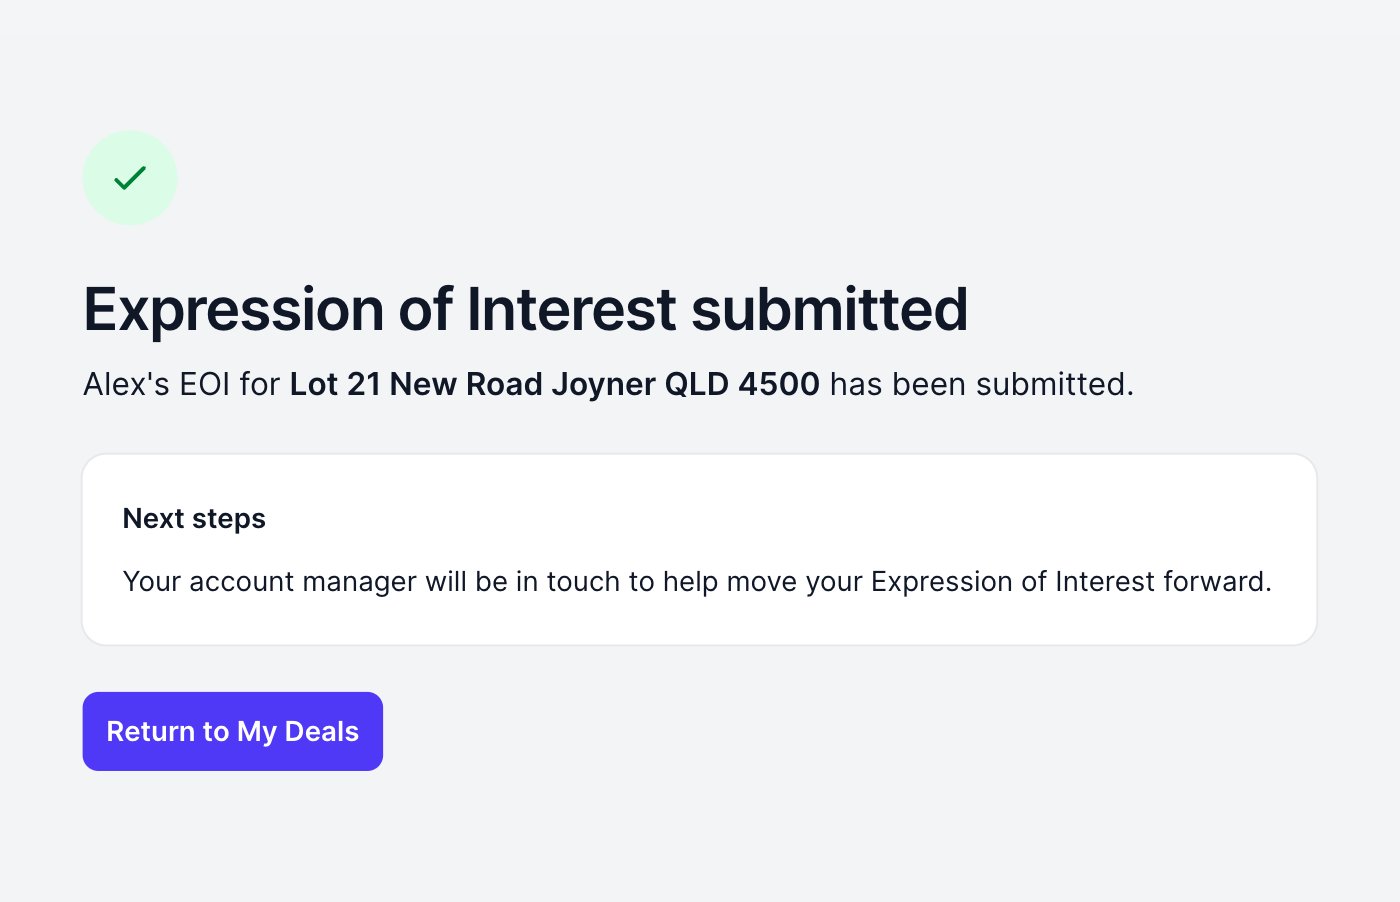
Track it in My Deals
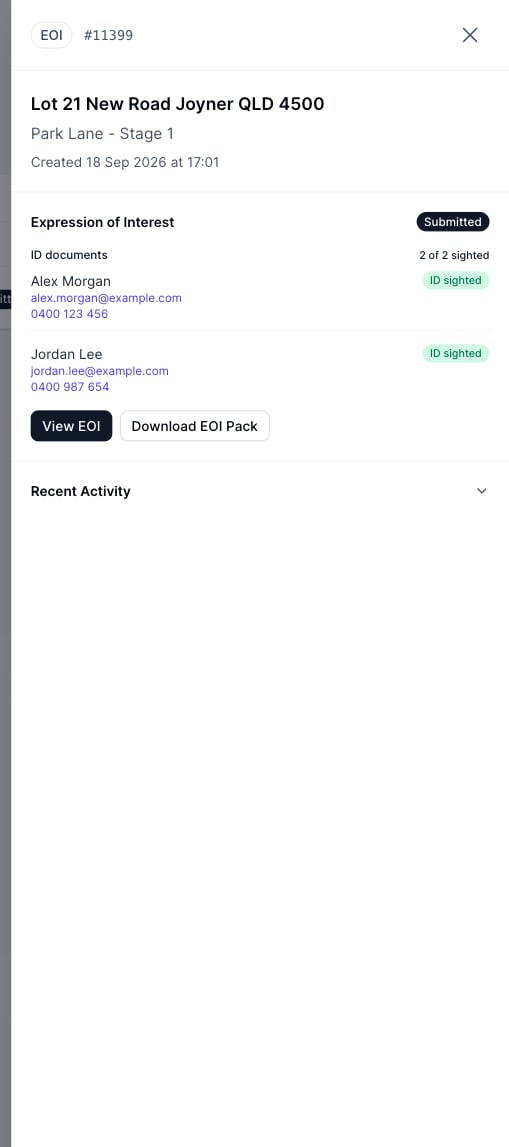
Open My Deals and click your deal to open the drawer: it shows the live EOI status, View EOI, and Download Expression of Interest Pack: the full record with the IDs you collected, as one PDF. Every download is recorded on the deal’s disclosure log.