

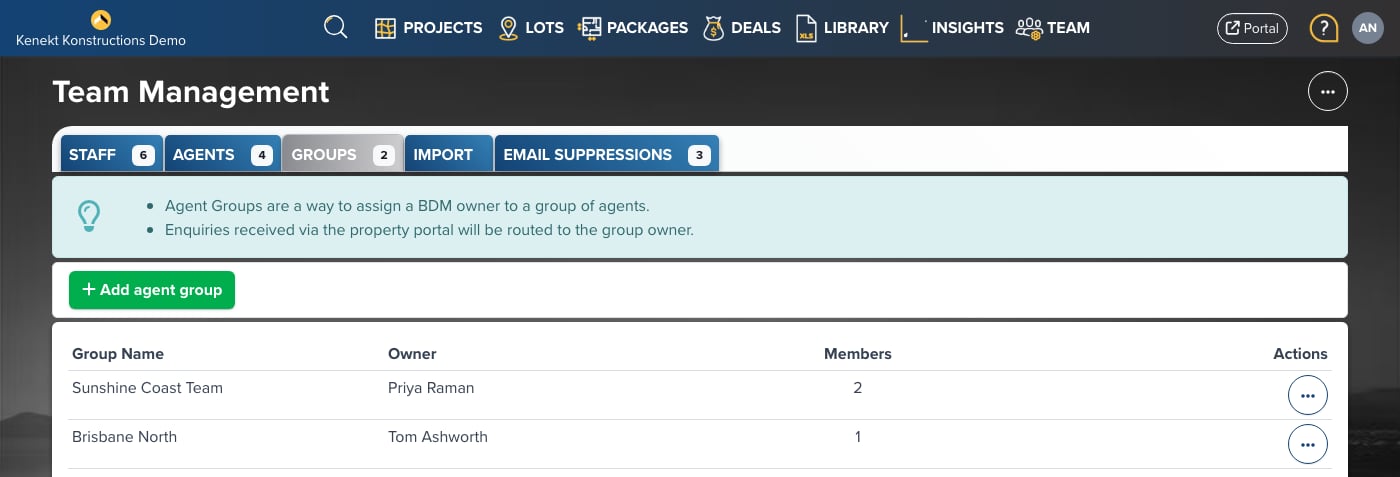
Groups List
The table displays:- Group Name: Name of the agent group
- Owner: Staff member who manages this group
- Members: Number of agents in the group
- Actions: Edit or delete the group
Creating a Group
- Click + Add agent group
- Enter a group name
- Assign an owner (staff member responsible for the group)
- Add members to the group
Using Groups
Groups are useful for:- Bulk Allocations: Allocate packages to all members of a group at once
- Regional Teams: Organise agents by territory or region
- Agency Networks: Group agents from the same external agency
Allocating to Groups
When allocating packages:- Go to the package’s Allocation panel
- Select User Groups tab
- Add the group, and all members receive access